If you’ve been thinking about setting up a hydroponic growing system, you’re in the right place. A DIY hydroponic system offers an efficient and cost-effective alternative to traditional gardening, while providing you with the satisfaction of growing great-tasting, healthy produce. In this guide, we will provide you with clear, step-by-step instructions on how to build and set up your own DIY hydroponic system. Let’s get started with this DIY hyrdoponics guide!
What Is Hydroponic Gardening?
Put simply, hydroponic gardening is growing plants without soil. Instead, plants are grown in nutrient solutions, either in an aeroponic system (in which their roots are sprayed with the solution) or in a static solution (in which their roots sit in the solution). This alternative to traditional gardening offers many advantages. For example, hydroponic plants require much less water and nutrient needs compared to those grown in soil. Plus, with hydroponic systems, you don’t have to worry about weeds or pests, and you have a much higher level of control over the growing environment.
Choosing the Right Equipment
The first step to setting up your own DIY hydroponic system is to choose the right equipment. There are many different types of hydroponic systems and plenty of equipment to choose from. Here are some things to consider:
Hydroponic Reservoir: This is the container where the plants’ roots sit in the solution. The size and shape of the reservoir will depend on the type of hydroponic system you decide to use.
Nutrient Solution: This is the liquid that your plants will absorb nutrients. You can make your own nutrient solution or buy it pre-mixed.
Hydroponic Growing Media: This is the material (such as sand or perlite) that your roots will sit in when growing.
Air Pump: This is the pump that will keep the nutrient solution oxygenated for your plants.
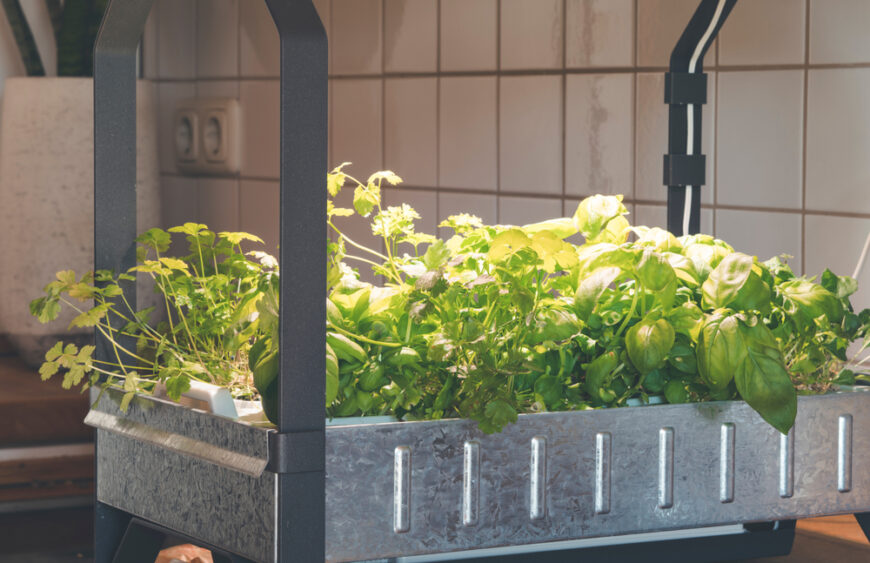
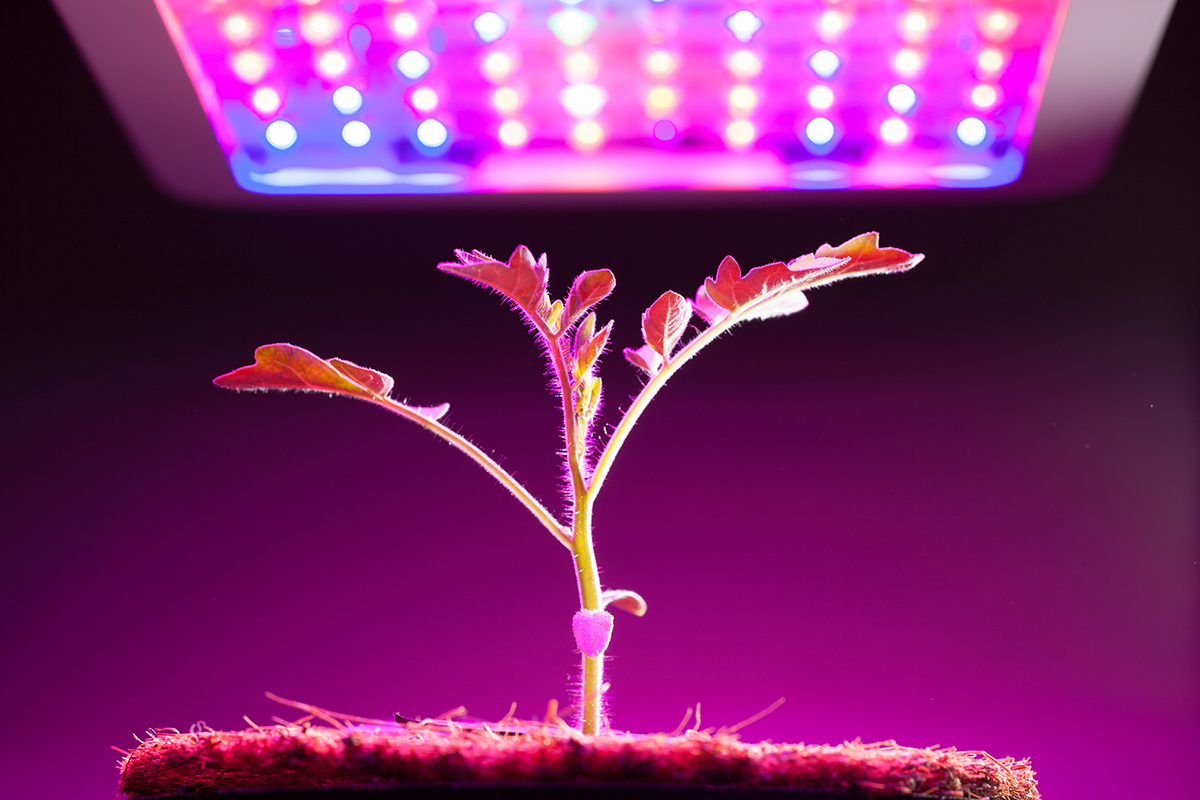
Lighting: This is the light source that will provide energy for your plants’ photosynthesis. LED lamps are an energy-efficient option.
pH Meters: This equipment will measure the acidity or alkalinity of your nutrient solution. Buy a digital meter for added accuracy.
Waterproof Trays: This will capture any overflow from your hydroponic system, so place it under your reservoir to prevent any water damage.
Plant Containers:You will need containers to hold your plants. Plastic containers or hanging baskets are best for plants in hydroponic systems.
DIY Hydroponics Guide: Making Your Hydroponic System
Once you’ve gathered the equipment, it’s time to start assembling your hydroponic system. The instructions below are for a simple “deep water culture” system, in which the plants’ roots sit in a reservoir of nutrient-rich water.
Step By Step Guide on DIYing your Hydroponic Setup
1. Find a space for your system. You’ll need an area where your system can sit, the more light it gets the better.
2. Assemble the reservoir. A plastic storage container is ideal. Cut out a hole in the lid of the container for the plant container to sit in, and drill some holes in the sides so that water and air can flow freely.
3. Place the nutrient solution into the reservoir. Make sure the solution is at the correct pH level (5.5-6.5).
4. Add the growing media to the plant container.
5. Attach the air pump to the reservoir and connect it to the air stone.
6. Fill the plant container with water, and place it in the reservoir.
7. Place your plants into the container, ensuring the roots are in contact with the nutrient solution.
8. Connect the LED lamps to a timer, and set the timer so that the lights are on for 12 hours each day.
9. Monitor the pH levels, temperature, and oxygen levels of the nutrient solution regularly.
Caring for Your Hydroponic System
Now that your hydroponic system is set up, it’s time to start taking care of it.
Here are some tips for keeping your system running smoothly:
• Make sure the roots of your plants stay submerged in the solution. Correct levels of oxygen, nitrogen, and other nutrients are essential for healthy plant growth.
• Monitor the water levels in the reservoir. Top up the solution if required.
• Check the nutrient solution regularly and adjust the pH levels if necessary.
• Clean the reservoir and the air pump regularly to prevent any accumulations of bacteria or algae.
• Inspect your plants’ leaves regularly, and remove any dead leaves or pests.
• Prune the plants where necessary.
• Regularly check the roots of your plants and trim them if needed.
Types of Hydroponic Systems to Consider For your DIY Setup
Dutch bucket system
Using a Dutch bucket system for DIY hydroponics can be a very effective way to grow many types of plants. It requires very little space, and is relatively easy to set up.This method uses a central reservoir and a drip irrigation system. A pump pumps water and nutrients into the bucket, and drip hoses are inserted at the plants to create a steady flow of water.
The Dutch bucket can be a very versatile system, and is especially useful for vining plants that need support. It can also be used for growing larger plants, such as tomatoes.
Depending on the type of plants that you intend to grow, you may need to use different types of growing media. Popular media include perlite, hydroton, coconut coir, and vermiculite. Aerating the growing medium is also important to ensure that the plants receive the moisture and air they need.
The most expensive component of a Dutch bucket system is the pump. This is because the pump will be continuously running. While this can reduce electricity costs, it also wears out the pump. A better alternative is a timer-based drip flow system. This will allow you to adjust the watering frequency for individual plants.
The drip-flow system also uses a timer to regulate the nutrient release at certain times of the day. This prevents nutrients from being wasted as they evaporate. Another feature of the Dutch bucket system is the drainage system. After the nutrient solution has drained into the bucket, it can be recycled into the reservoir through the drain line. This enables excess water to be removed and kept out of the system.
The buckets and other parts of the Dutch bucket system can be purchased from a specialty store. They can also be modified to fit narrower spaces.
Ebb and flow system
Creating your own Ebb and flow system is a great way to save money while growing your own plants. The basic structure of the system involves two containers that are used to hold the plants and water. These containers are connected to a timer which automatically controls the process of watering and draining the growing media.
The ebb and flow system is usually easy to install, but it does have some potential issues. For instance, some growers have reported that the water levels in their reservoirs have overflowed and caused problems for the plants. Also, too much algae growth can cause a buildup of harmful bacteria in the reservoir. The key to a successful Ebb and Flow system is to have a strong pump. A good pump should provide enough water for the growing tray in a short amount of time.
Another essential component is the reservoir, which holds the water and the nutrients. The reservoir should be large enough to accommodate the pots that the plants are in. In larger systems, the plants do not have to be flooded as often as in smaller ones.
Lastly, the growing medium is a vital part of the system. It should be strong enough to support the root mass and allow the root mass to expand. It should also have good drainage qualities. Some of the common ebb and flow mediums are perlite, clay pebbles, rockwool, gravel, and hydroton.
A good Ebb and Flow system should be set up to water every three hours. This will ensure that the plants are getting the proper nutrients. The system should be cleaned after each water change to prevent the buildup of mold or other harmful organisms.
Getting Started with a DIY Hydroponics System Doesn’t Have to Be Hard
By following these instructions, you should have a thriving DIY hydroponic system in no time. Although it may take a bit of time and effort to get your system up and running, the rewards of having healthy, homegrown produce in your very own home are definitely worth it. So, get your hydroponic system set up and start growing!